How to Paint a Peeling Bathroom Ceiling
In a humid bathroom, paint can easily start to peel if it wasn't applied properly. With its high humidity and possibility of water leaks, peeling paint is a common problem for bathroom walls and ceilings.
It's not only an eyesore in an otherwise attractive bathroom either -- it's a prime breeding ground for mildew and bacteria. Repairing peeling paint on your bathroom walls and ceiling can be a time-consuming process, but it isn't difficult. It's important to work carefully, though, if you don't want your paint to peel again. If your home was built before 1979, it may contain lead-based paint, so you're better off hiring a professional to handle the repairs if that's the case.
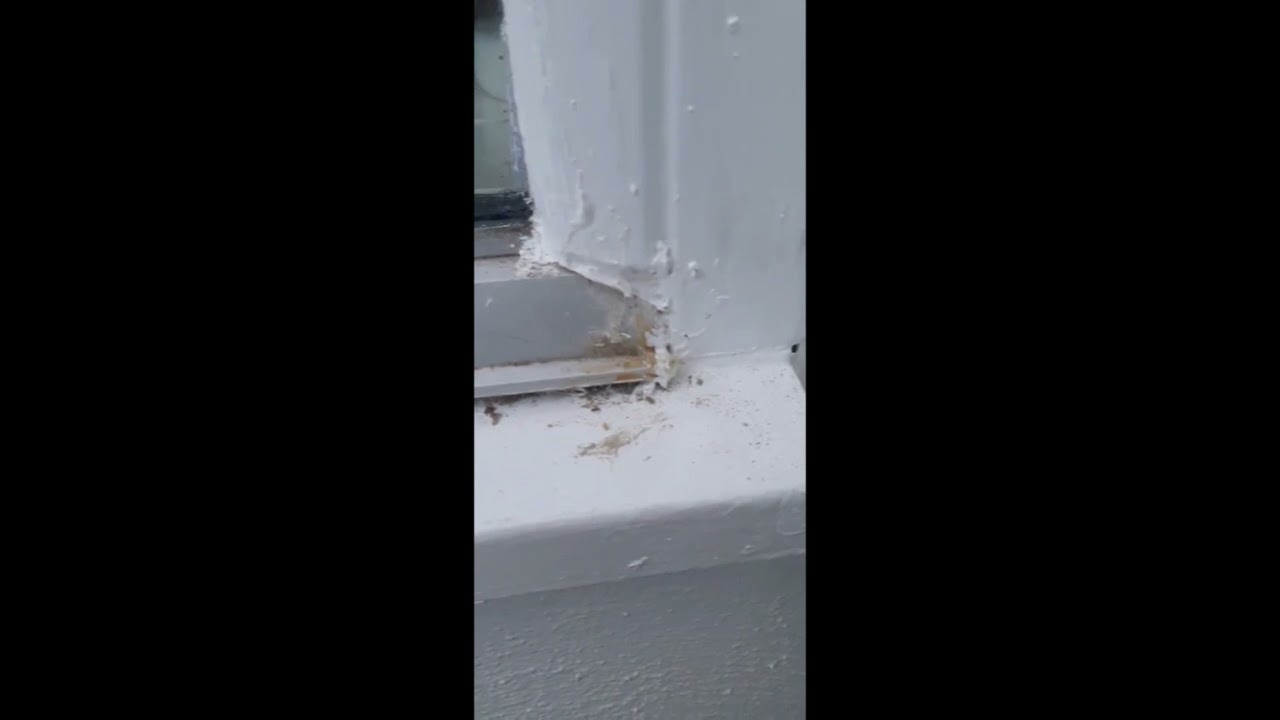
Remove Chipped Paint
The first step in repairing your bathroom walls and ceiling is removing the chipped spots. A putty knife or paint scraper works well at removing the paint if you carefully move it along the loose edges. Make sure to remove all peeling or flaking areas until the wall and ceiling only have firmly adhered paint on them. Keep a trash can or other receptacle on hand so you can catch the loose paint chips as they fall and line the floor with a dropcloth in case you miss any flakes. Because small flakes of paint may fly through the air, wear protective eye wear and a dust mask as you work to avoid getting paint chips in your eyes or inhaling particles.
Patch Fill and Slim Plaster as needed
Once the chipped paint is gone, the surface will be uneven since some areas will have a layer or more of paint and others won't. To create a smooth surface for repainting, use patching compound to even out the walls and ceiling. Opt for a quick-setting patching compound and apply it in a thin, even layer with a putty or broad knife. When the first coat is dry, you can apply a second layer if necessary. Finish with a layer of all-purpose drywall compound and allow it to dry overnight.
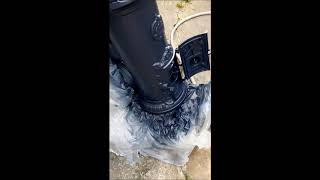
Sand
After the patched areas are dry, you should sand them to ensure that there are no ridges or uneven edges. On the walls, you can sand by hand with sandpaper. Sandpaper can also work on the ceiling, but it will probably create a great deal of messy dust. Instead, try using a shop vacuum outfitted with a dust collection bag and a sanding attachment. The vac will collect all of the dust as you sand, so there's no mess to clean up afterward. But you should still wear goggles and a dust mask while sanding to protect your eyes and lungs.
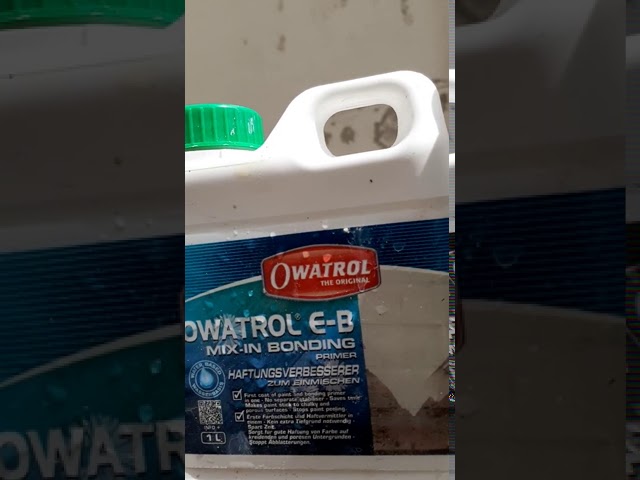
Prime
Your bathroom walls and ceiling probably started peeling in the first place because they weren't properly primed. To avoid the same problem in the future, use an oil-based primer with stain-blocking properties before painting. The primer helps prevent water marks on the walls and ceiling and keeps the patching compound from getting wet and causing the paint to peel due to the humid conditions in the bathroom. It also helps with prevent mildew growth. Repaint Once your primer is dry, you can repaint your bathroom walls and ceiling in any color you choose. But it's important to choose the right type of paint if you want to prevent peeling and flaking in the future. Look for a formula marked specifically for use in bathrooms. This type of paint has a high-gloss or semi-gloss finish and is washable. It also doesn't absorb moisture as readily as other types of paint, so it stands up to humidity well. If you're worried about stains, opt for a paint designed to resist mildew.
Contact Us @ info@southdublinpainting.com,
www.southdublinpainting.com
M: 0870905303