

Repairing Cracks in a Ceiling
- Jan 3, 2015
- 2 min read
Step 1: If Needed Remove Old Drywall Patches and Tape
Make sure your workspace is covered with a drop cloth and plastic to cover up fitting and fixtures. Remove any old drywall tape or patches with the scrapper. To remove drywall tape, use the 5-in-1 tool or a filling knife to get underneath the lip of the tape and begin to take the whole strip off.
Step 2: Attach Screws or Bonding to new plasterboard
Drill some drywall screws into the ceiling. These screws will attach to the wooden support blocks which were installed in the attic above in the first step of this project. Then drill drywall screws into ceiling attic support or rafters as needed.
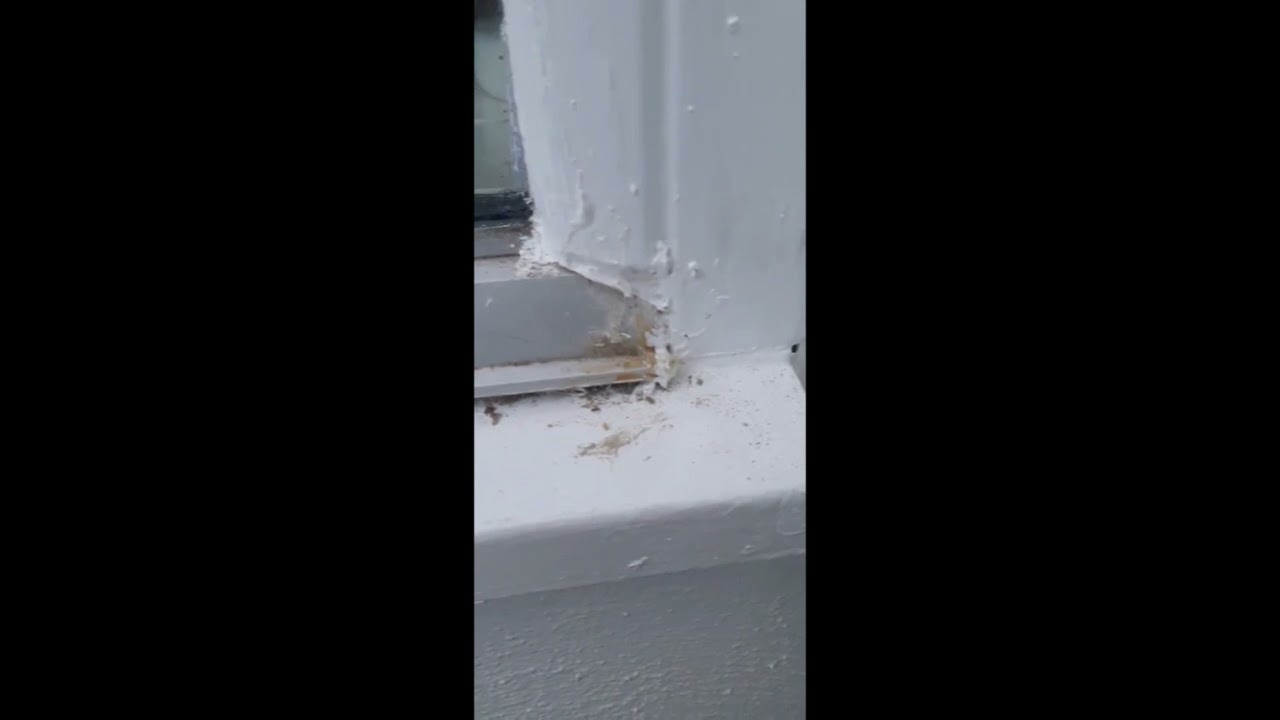
Step 3: Open up and Widen the Ceiling Crack
Next, take the scrapper (5-in-1) tool and rip a gouge in the ceiling just to make the crack a bit wider. This will give the joint compound something to adhere to.
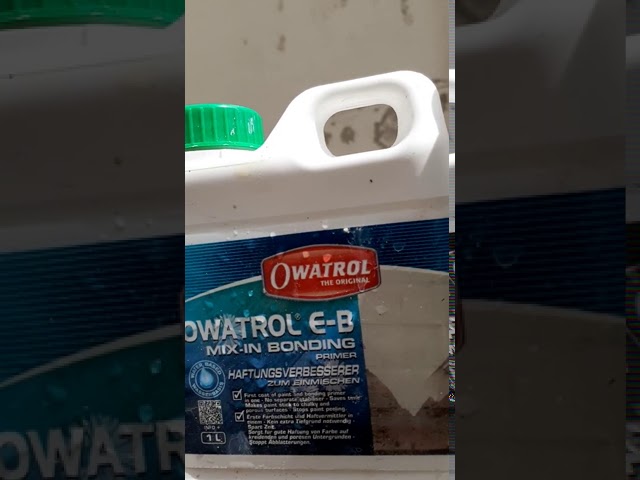
Step 4: Apply Bonding and Filler ,
Apply a single strip of drywall tape to the crack. Then, apply the first layer of joint compound making sure to push the mud through the mesh of the tape and into the crack.
Step 5: Smooth the Surface and then flush fill.
Once you've got the first layer on, go over it with a damp double-sided sponge. Use the rough side to smooth out any lumps, then go back over with the smooth side to finish it. You may need to refilling the area a few times before you get a smooth finish.
Step 6: Sand and Paint
Sand down the area if needed; prime and paint the area.Use a BINS PRIMER ,two coats if needed.Then apply finish coats of good quailty paint as needed.
Contact Us at info@southdublinpainting.com
www.southdublinpainting.com
M: 0870905303


Comments