

How to Restore and Paint rotten timber in a window frame.
- Jan 1, 2015
- 2 min read
Materials you will require:
• a etch or old and wide screw driver.
• a tub of 'Elite' Wood Filler (Ronseal do one thus do others)
• clean adaptable filler blade (plastic or metal as you lean toward)
• a little bit of wood (on which to blend the filler)
• various evaluations of sand paper
• Oil primer
• Oil undercoat
• Oil top Coat
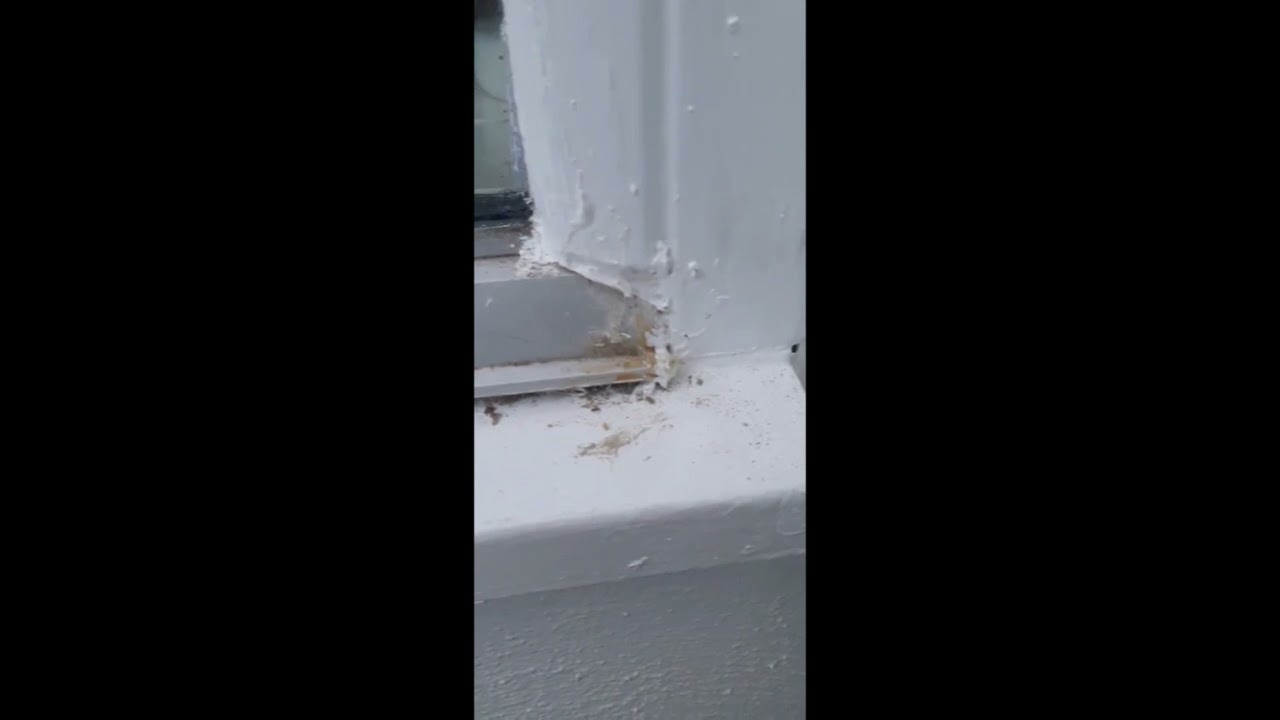
Uproot all the decay, first check painstakingly that there's no threat from breaking glass while you're working. At that point utilize a sledge and etch to uproot all the spoiled wood.
Verify you totally uproot any staying littler spoiled regions in the window outline. Get out the flotsam and jetsam and clean the working territory altogether.
At the point when everything is clean, treat the influenced zone with wood filler. This goes about as both a cement and a filler. Sand the range in the wake of drying, then apply a completing layer of filler, permit to dry and sand smooth. After that you can paint the window outline.
In the event that the wood decay has influenced a bigger range, its best to supplant a complete area of the window outline. It's ideal to evacuate a lot sound wood than to abandon a portion of the spoiled wood untreated. Attempt to make the edges of the opening as straight and square as could be allowed, and after that clean the working range completely with a vacuum cleaner or brush.
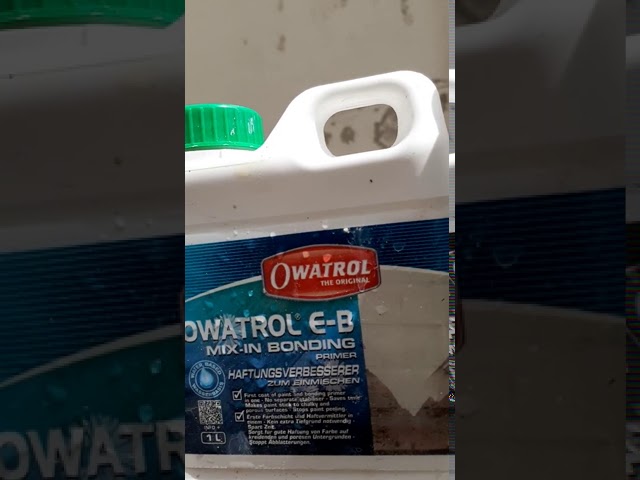
Make another area fit as a fiddle and out of the same sort of wood to supplant the piece you have evacuated, with the goal that it fits precisely into the opening. Repairing a wooden window outline -Fit the supplanting area with epoxy gum .Fit the supplanting segment with epoxy pitch.
Layer both parts with undiluted epoxy sap. Let the gum set quickly, and afterward fit the new segment into the opening. Epoxy gum additionally goes about as a filler, so you can utilize it to fill any holes between the new area and the window outline.
Smooth the filler to the forms of the first window ledge (you can leave this a bit pleased with the first wood as we might be sanding it down later).
Wrap some coarse evaluation sanding paper around a level noggin of wood and deliberately smooth the most exceedingly terrible of the unpleasantness from the repaired territory and after that swap to a mid-range evaluation and afterward to smooth/fine review as the filled patch starts to mix with the first wood.
On the off chance that, once you make preparations, there is even now sanding to be carried out, remember to permit the first stage paint to completely dry before sanding as unless it is completely dry, it will promptly stop up the sand paper.
In this way, once smooth paint a coat of aluminium wood primer first stage – paint with undercoat ,two coats is of undercoat best , and top layer of finish oil based paint obviously – and final touch ups coats. Get your undercoat tinted to the finish final coat. Apply the final coat of paint early in the morning so the door can be left open all day long.


Comments