

Painting your Kitchen Cabinets
- Dec 23, 2014
- 3 min read
Painting your kitchen cabinets: Materials you need
• Goggles
• Rubber gloves
• Plastic sheeting and painter's tape
• Sander or sandpaper
• Degreaser product, like trisodium phosphate (TSP)
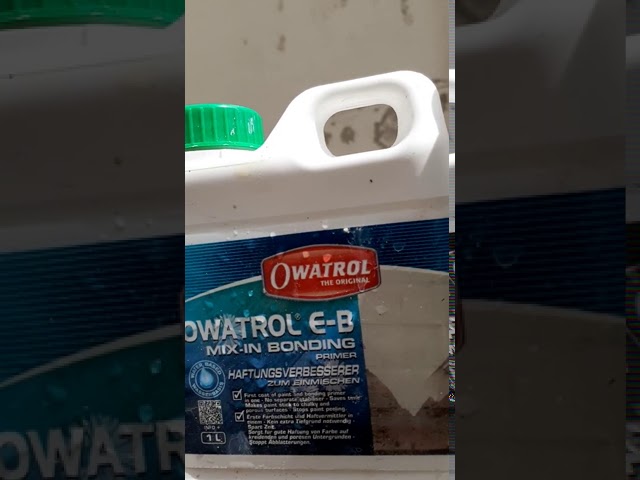
• Styx
• Primer
• Tack paper
• Paint
Here is our 5 steps to painting your kitchen cabinets
1: Pick your paint
You may be stuck on a specific finish, but Rory C, owner of SDP, recommends always using paint with a semi-gloss finish.
"You want a semi-gloss for ease of wiping the cupboards down. If you go any flatter then it'll grab the cloth -- and almost give it a chalky feel," he says. Rory also warns against using high-gloss paint if you're doing the project yourself. "I wouldn't recommend you going high-gloss. It will just highlight every single brush stroke, every single roll mark you do," he adds.
In terms of colour, white is still the hottest choice in kitchen trends . Rory says that although some people deviate to other lighter colours, white is still the fist choice. "A lot of people do think about a white kitchen as a clean kitchen. That's the mindset," he says. Also, painting your cabinets white gives you lots of room to add accent colours elsewhere.
2: Clean and cover
"Prep is the biggest part of the project," says Rory. Clean out your kitchen cabinets and tape plastic sheeting to counter tops and floors to help protect finishes and avoid unsightly stains.
When you're ready to get going, start by cleaning your kitchen cabinets. Use a degreasing product like TSP (available at most paint and hardware stores) to help get the grease off of your cupboards.
Grease hides in places you didn't even think about, like around the handles, underneath the cabinets, and right under the bottom of the edge of the cupboard doors. "If you wash and clean those spots you're going to guarantee that your paint sticks. Take the Rorye to clean. Washing the cabinets is key," Rory says.
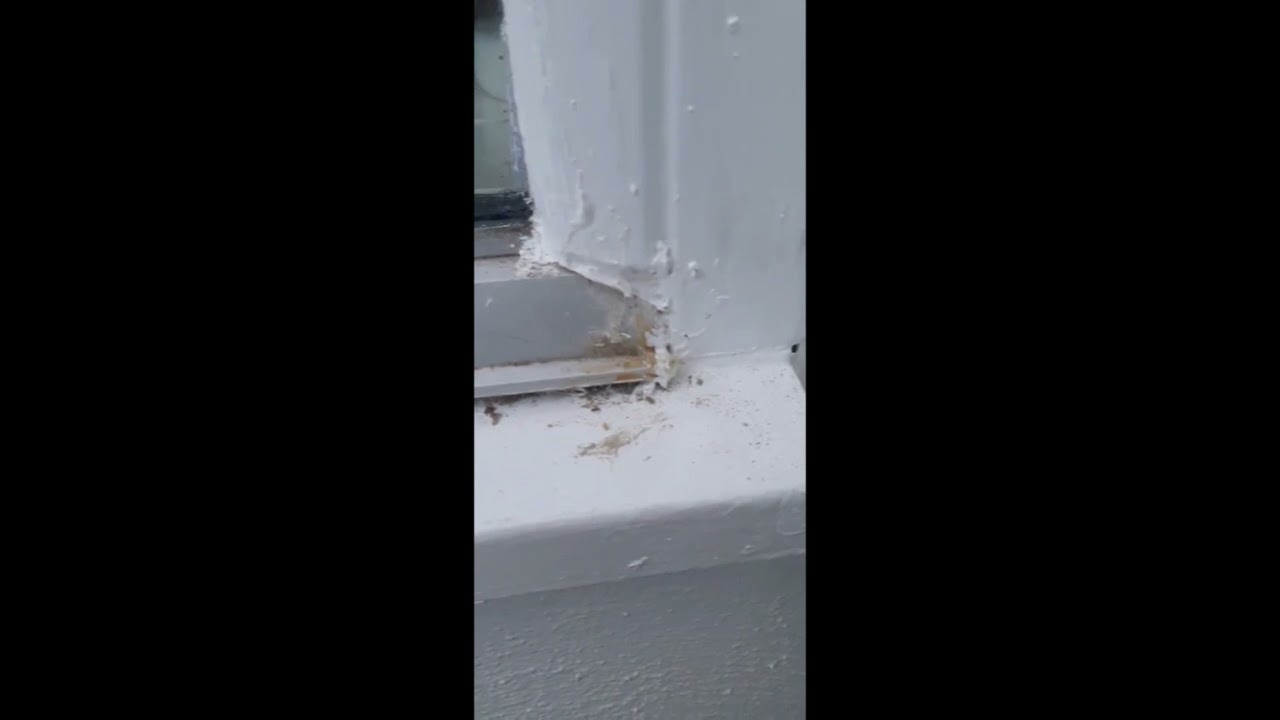
3: Sand, prime and sand again
Once your cupboards are clean, give them a light sand with 220 or 400 grit sandpaper, depending on the finish of your cabinets. "Usually with an open grained-type finish, like an oak, you should use a heavier grit sandpaper," advises Rory.
After sanding, remove your cupboards, lay them flat and start brushing on the primer. Ensure it's dry to the touch before flipping the cupboard over to prime the other side. Once the primer is dry, give the cupboards a light sanding to smooth out brush strokes. Vacuum and wipe your cabinets with a tack cloth to clean away any debris from sanding.
4: Finish Painting
Before Rory paints, he brushes on a product called Stix, something that will help the paint adhere and give the cabinets a more durable finish. He recommends two coats of Stix for great l results.
Rory recommends using a good-quality brush or roller to get your paint on the cupboards. Apply a thin coat and let your kitchen cabinets dry flat to avoid drip marks. Once they're dry to the touch, turn them over and paint the other side. Wait a few hours before applying a second coat.
5: Consider changing the hardware
For a completely new look, consider changing the pulls and knobs on your cabinets. You'll be surprised how fresh and new your kitchen will look.
When to call in the pros
Rory warns that melamine and arboreta cabinets are particularly hard to refinish yourself, as it's difficult to get the paint to stick. If you have cabinets with a similar finish, you might want to consider hiring a pro to do it.
He also says it's important to accept that a DIY painting project will have brush and roller marks, so if you know you just can't live with that, investigate the cost of hiring somebody to spray the paint on for you.
SDP's top tips for great results:
DO clean. Make sure your cabinetry is clean before you start.
DO take the doors off to paint them.
DO prepare for your kitchen to be out of commission for a while.
DO set aside an area for your cabinets to dry in.
DO invest in a good paintbrush or roller . Cheaper ones tend to leave little bristles and brush marks behind.


Comments